• Office Hour: 9:00 AM - 7:00 PM

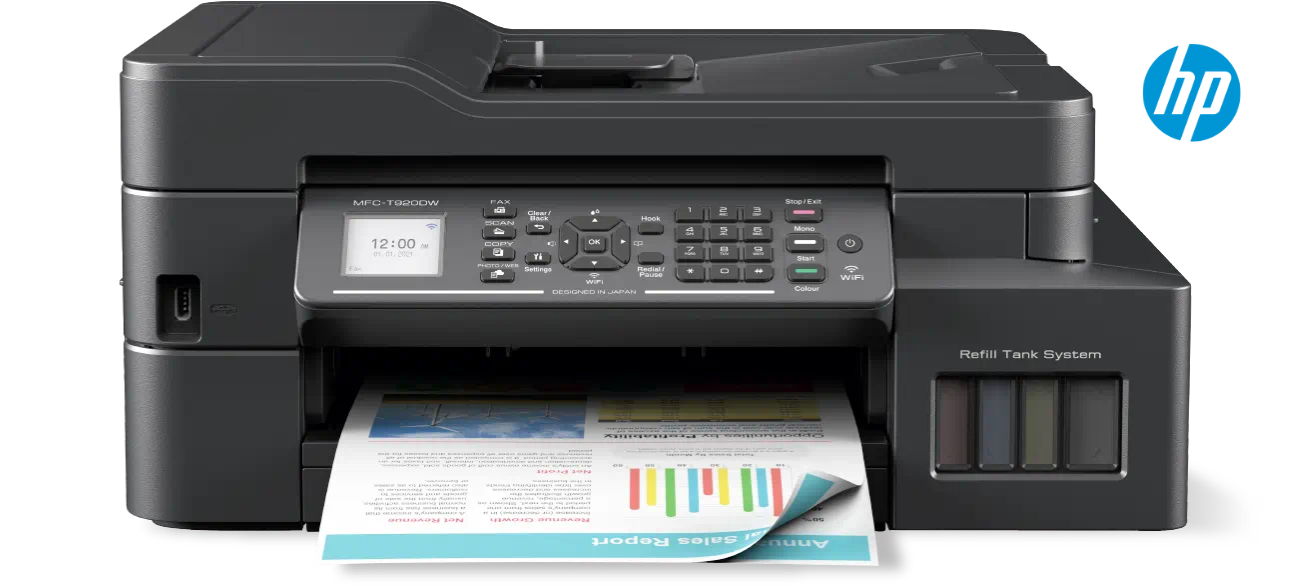
123 HP Printer Setup in Easy Steps

The 123 HP Printer Setup process is quick and easy. First, unbox your printer and plug it in. Connect it to your Wi-Fi network. Then, go to 123.hp.com to download the software. Follow the instructions, and your printer will be ready to use.

 123 Hp Printer Setup
single-img-two - 123 Hp Printer Setup

Printer Setup Instructions

1. Unbox the Printer

For 123 HP Printer setup, start by unboxing the printer carefully. Remove all packaging materials and keep accessories nearby for easy setup.

2. Connect the Power

For 123 HP Printer setup, connect the power cable to your printer and plug it into an electrical outlet. Turn the printer on.

3. Install Ink Cartridges

During 123 HP Printer setup, open the ink cartridge door, remove the protective tape, and insert the ink cartridges correctly.

4. Load Paper

For 123 HP Printer setup, load paper into the input tray, making sure it’s aligned and the guides are properly adjusted.

5. Connect to Wi-Fi

To set up your 123 HP printer, navigate to the control panel, choose your Wi-Fi network, and then input the password to establish a connection.

6. Download Software

Enter your printer model at 123.hp.com, then download the required software to finish the process for your 123 HP printer setup.

Models

Frequenlty Ask Questions

To start the 123 HP Printer setup, unbox your printer, plug it in, and turn it on. Follow the on-screen instructions on the printer’s display to complete the initial setup process.

During the 123 HP Printer setup process, navigate to the control panel of the printer, choose your Wi-Fi network, and then input the password to finish the connection.

Yes, you can set up your 123 HP printer without a computer. Simply use the printer's control panel to connect to Wi-Fi and follow the 123 HP printer setup instructions on the screen.